Step-by-Step Guide: Installing Bird Proofing Mesh on Solar Panels
Solar panels are a fantastic investment for sustainable energy, but they can become a magnet for birds looking to nest or seek shelter. Installing bird proofing mesh is an effective solution to protect your solar panels from these avian invaders. In this guide, we'll walk you through the steps needed to install bird proofing mesh on your solar panels.
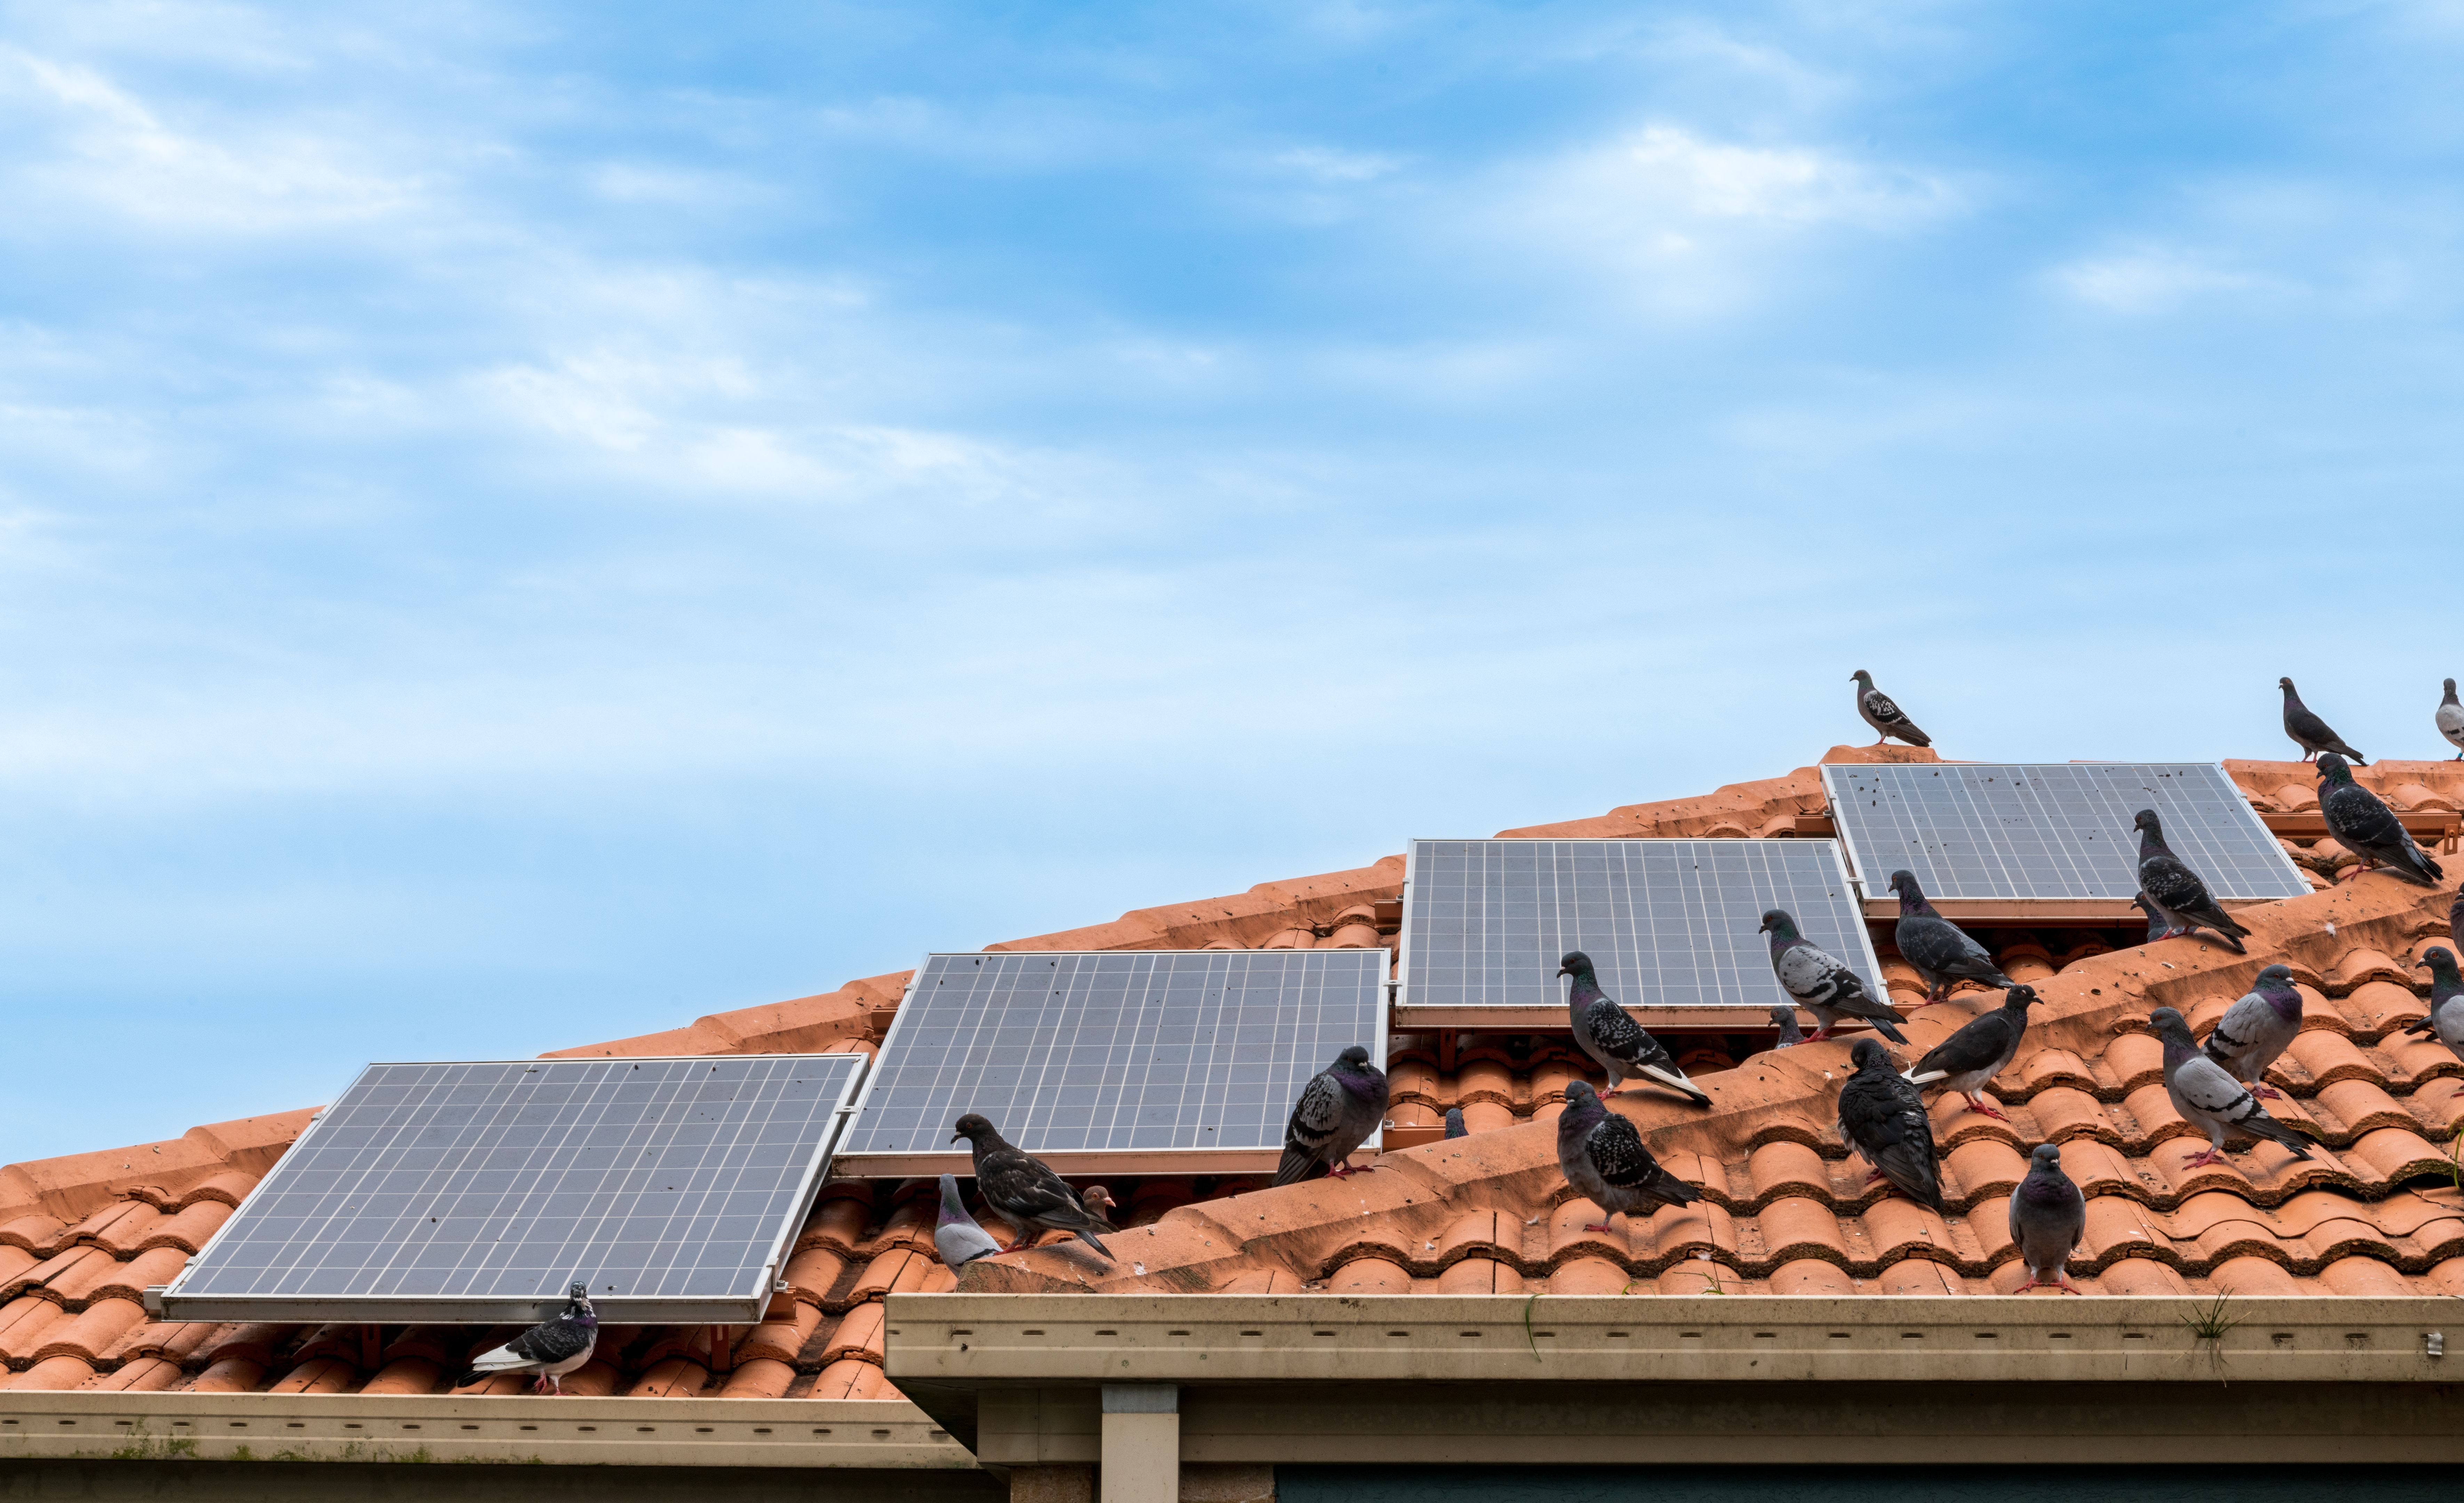
Why Bird Proofing is Essential
Birds can cause significant damage to solar panels by building nests underneath them. This not only affects the efficiency of your solar energy system but can also lead to costly repairs. Bird droppings can also corrode the panels, further diminishing their effectiveness. By installing bird proofing mesh, you can prevent these issues and ensure your panels function optimally.
Gather Your Materials
Essential Tools and Equipment
Before you start the installation process, ensure you have all necessary materials and tools at hand. You will need:
- Bird proofing mesh
- Clamps or metal clips
- Wire cutters
- Protective gloves
- Ladder or scaffolding
- Safety harness (if required)
Step-by-Step Installation
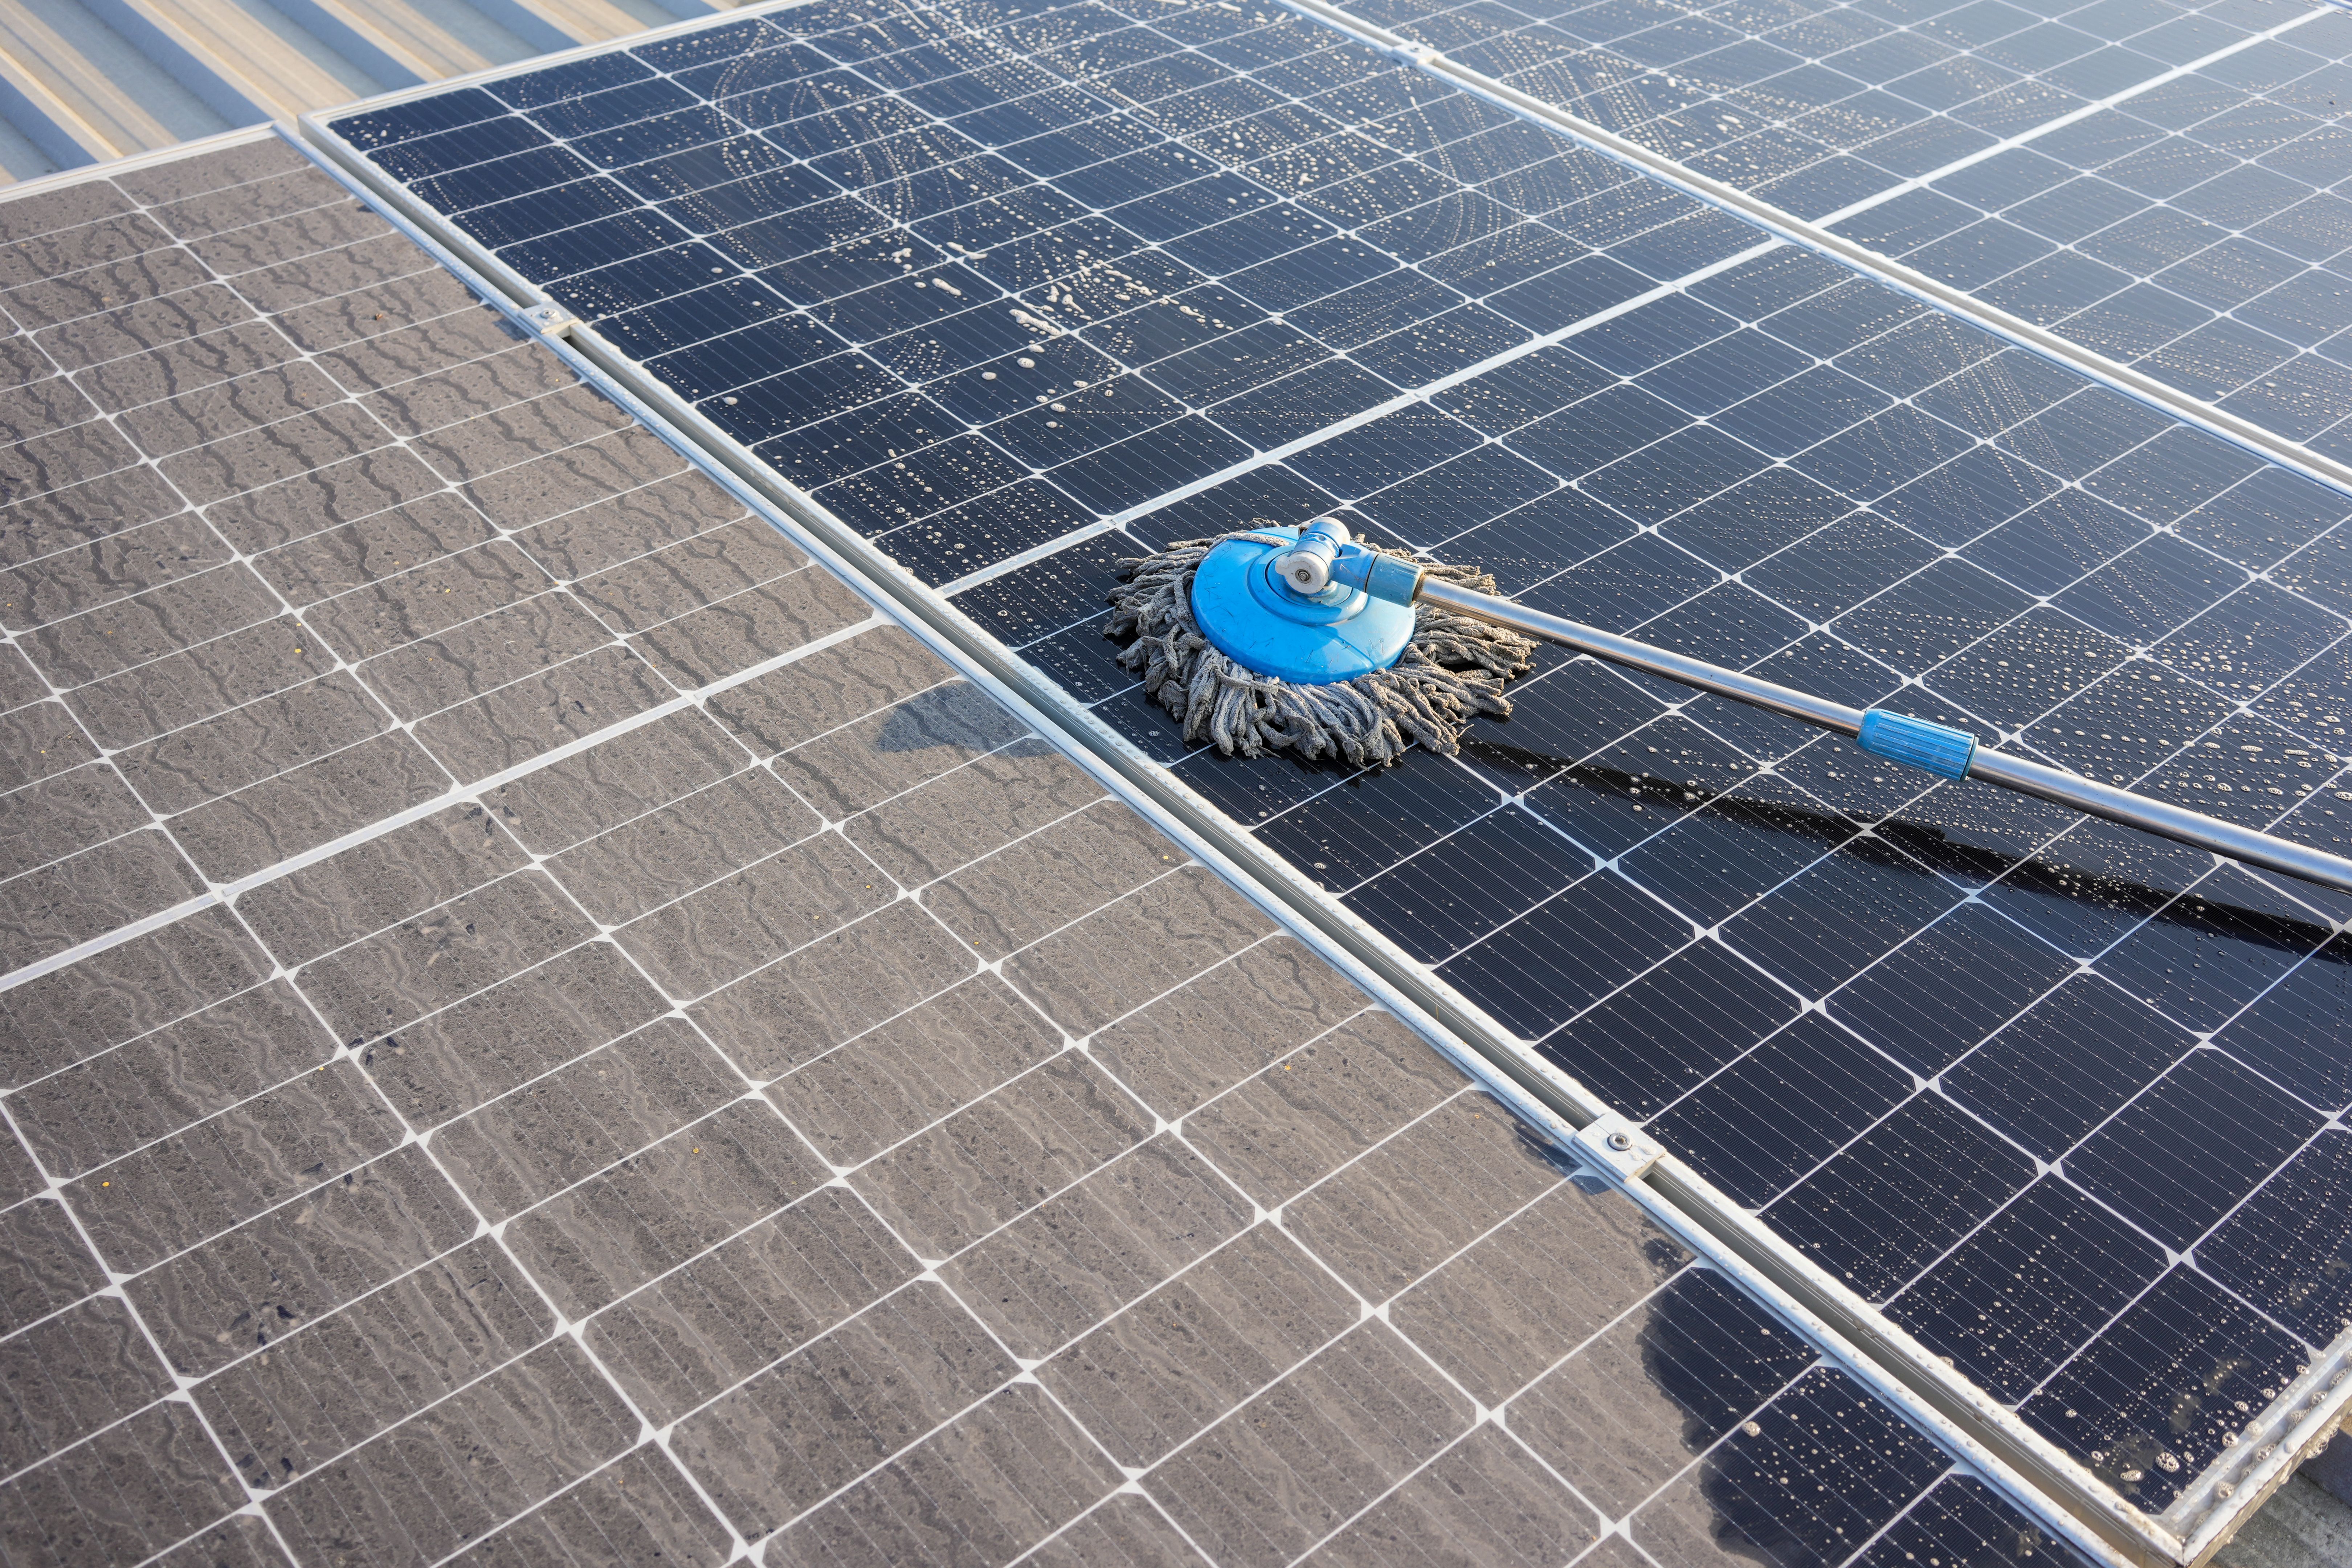
Prepare the Area
Begin by cleaning the area around your solar panels. Remove any existing nests or debris. This step is crucial as it ensures the mesh will fit snugly and effectively block birds from accessing the underside of the panels.
Measure and Cut the Mesh
Next, measure the perimeter of your solar panel array to determine how much mesh you will need. Cut the mesh to size using wire cutters, ensuring that it will cover all sides of the panel setup. It's important to leave a little extra mesh to allow for secure attachment.
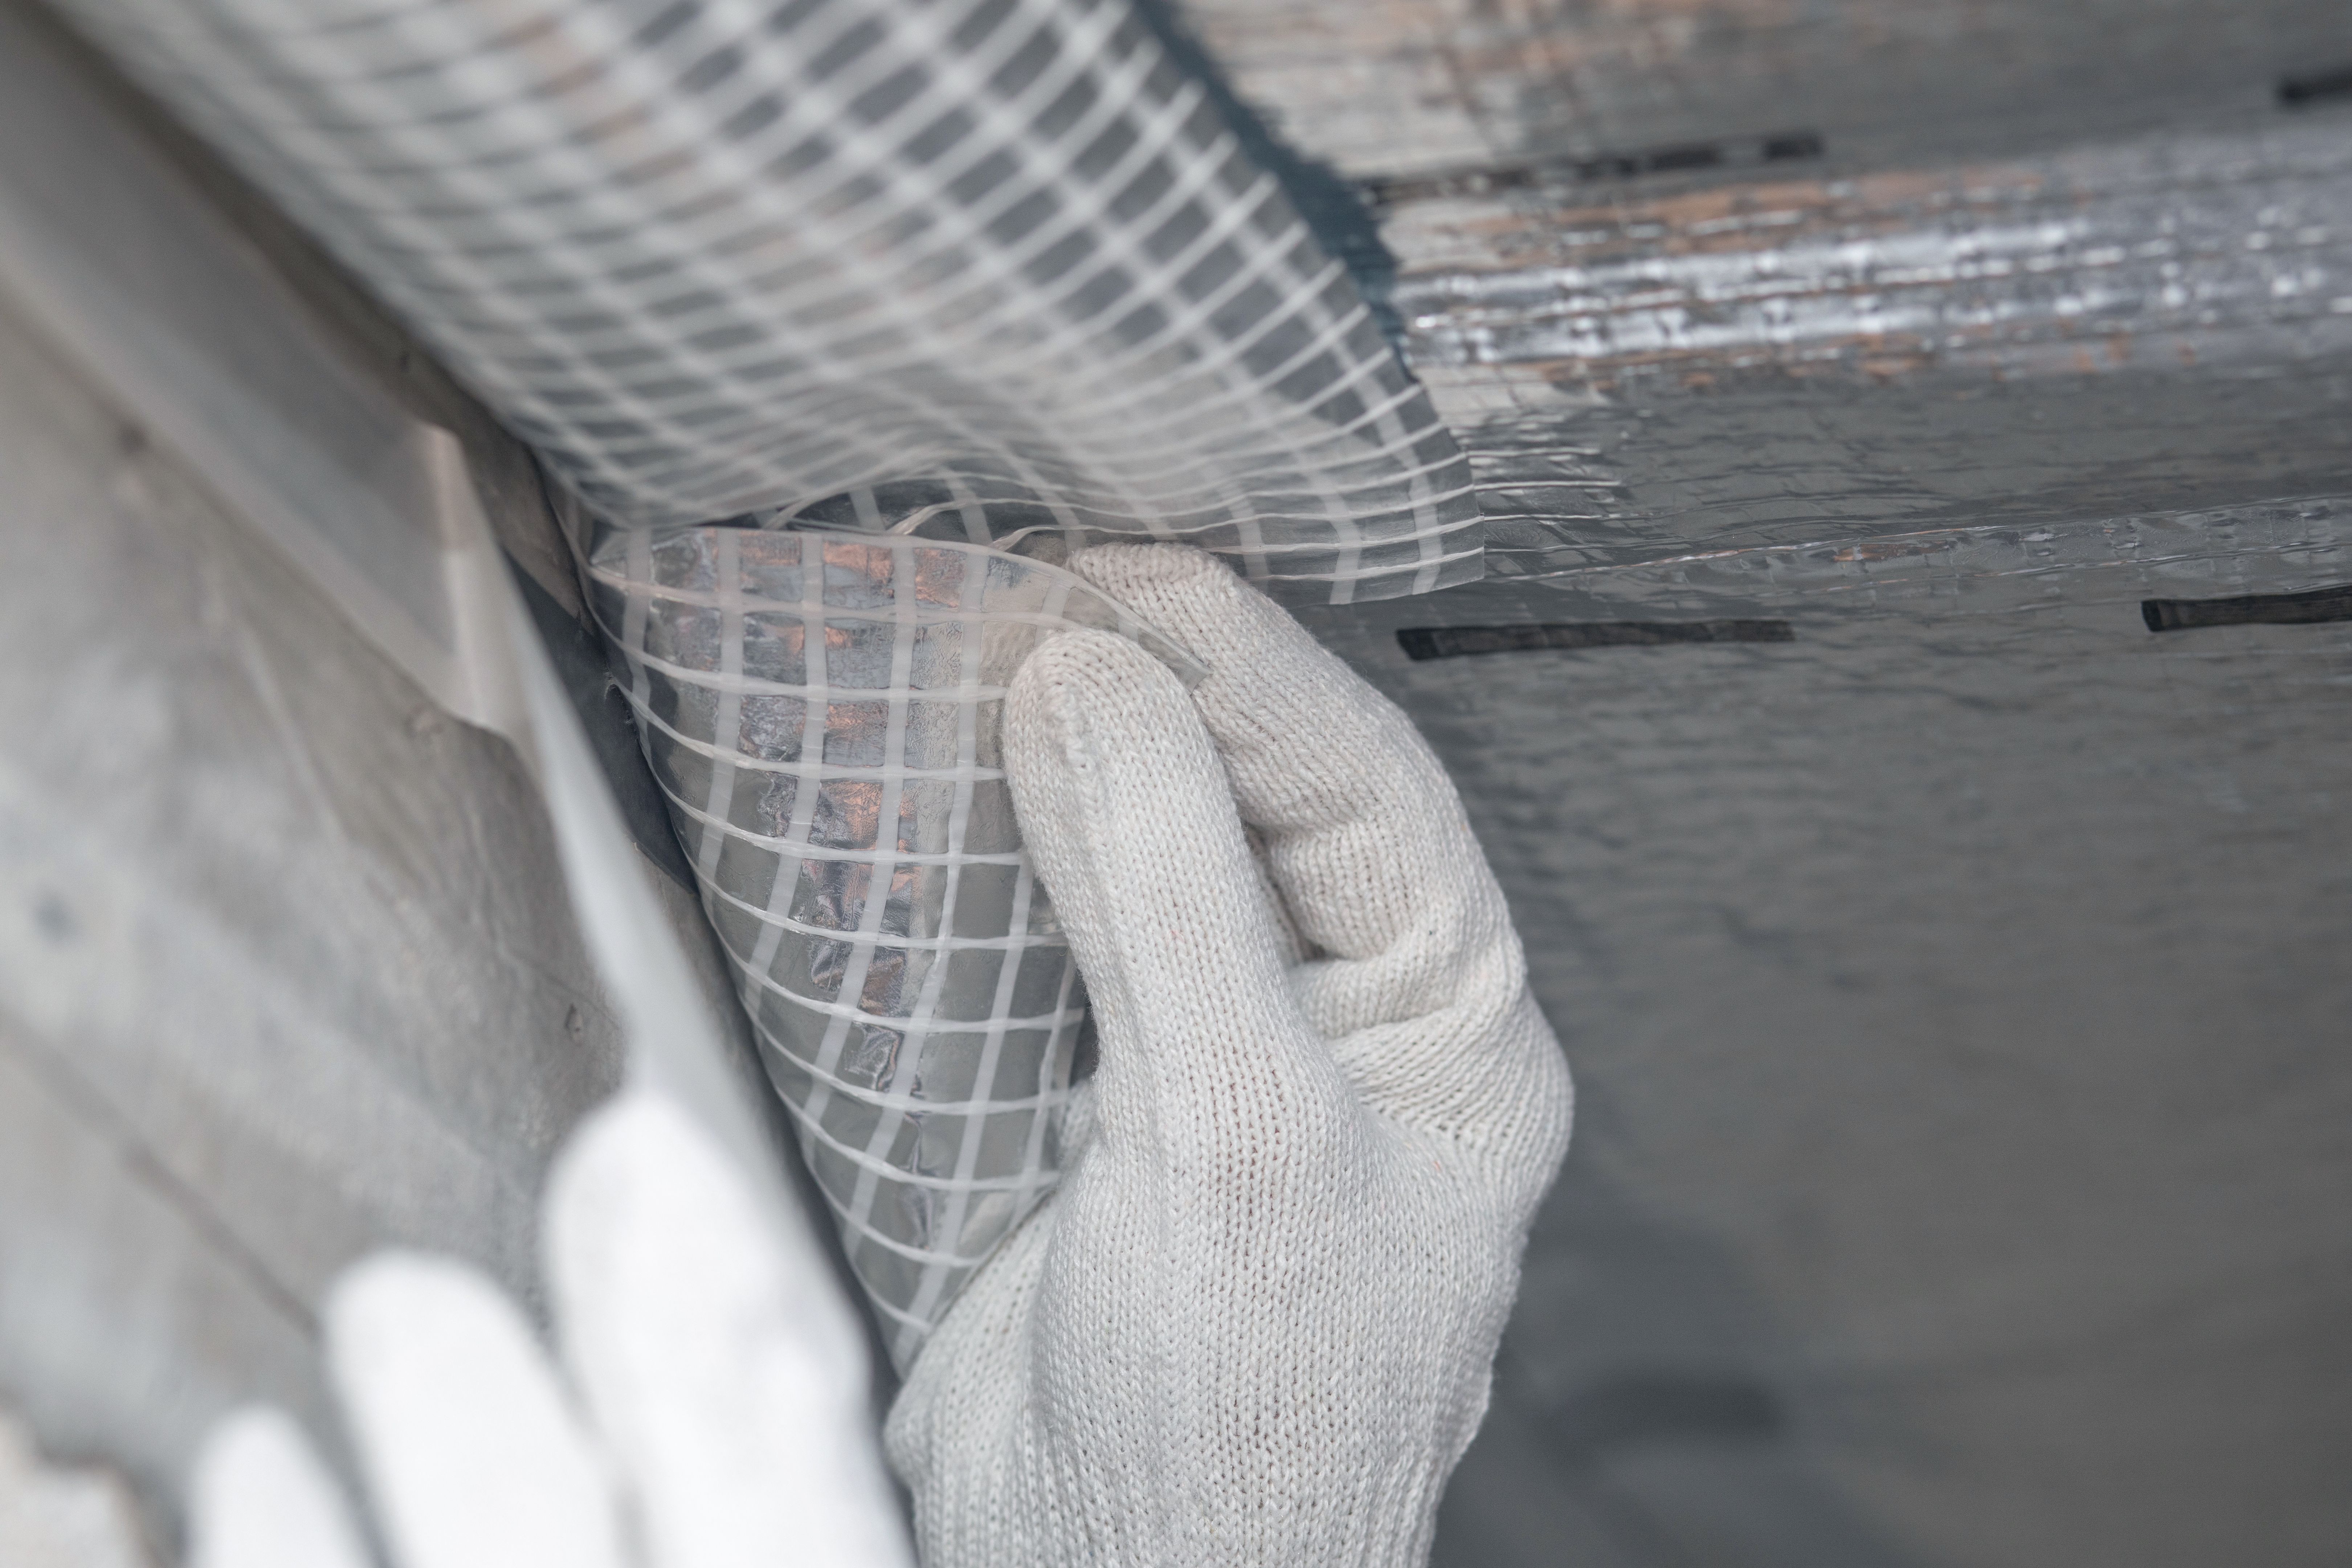
Attach the Mesh
With your protective gloves on, begin attaching the mesh using clamps or metal clips. Secure the mesh tightly along the edges of the panels. Make sure there are no gaps that birds could potentially squeeze through. Pay special attention to corners and seams, as these are common entry points for birds.
Final Checks and Maintenance
Once you've secured the mesh, perform a final inspection to ensure all areas are covered adequately. Check that all clips are tightly fastened and that there are no loose sections of mesh. Regular maintenance checks are recommended to ensure the integrity of the bird proofing over time.
By following these steps, you can effectively protect your solar panels from bird damage, ensuring they remain efficient and in good condition for years to come. Investing a little time in installing bird proofing mesh can save you from potential headaches and costly repairs, making it a worthwhile addition to your solar energy system.